Helpful Hint #3:
Seal Maintenance
Why Seal Maintenance Matters
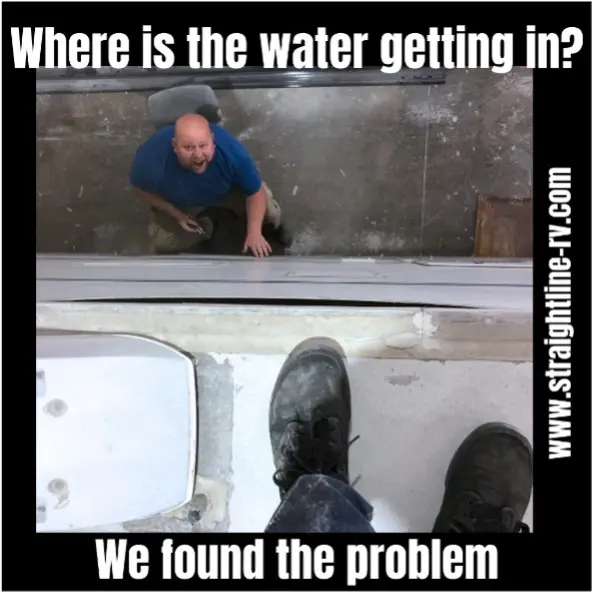 At Straight Line RV & Boat, we see firsthand how quickly water damage can destroy an RV. Failed exterior seals are the number one cause of leaks, and once water enters the roof, walls, or subfloor, repairs can become extensive and expensive. The good news is that seal maintenance is simple, fast, and one of the most effective ways to extend the life of your RV.
Where to Inspect
Your RV relies on dozens of seals to stay watertight. Key areas include:
- Roof edges and trim
- Vents, skylights, antennas, and roof‑mounted accessories
- Windows and entry doors
- Storage/baggage doors
- Panel joints and exterior trim
- Any exposed screws or hardware
These seals face constant UV exposure, heat, vibration, and weather. Over time, they dry out, crack, or separate—creating a direct path for water intrusion.
Choosing the Correct Sealant
Using the wrong sealant is one of the most common mistakes RV owners make. At Straight Line RV & Boat, we use and recommend the correct product for each surface to ensure long‑lasting protection.
Self‑Leveling Lap Sealant (Roof Use Only)
- Designed for horizontal surfaces
- Ideal for roof edges, vent bases, skylights, antennas, and screw heads
- Flows out to create a smooth, waterproof layer
- Not for vertical surfaces — it will run and fail to seal properly
Cap Sealant (Vertical Surfaces)
- Designed for vertical edges
- Used around windows, doors, storage bays, and trim
- Thicker formula stays exactly where it’s applied
- Creates a clean, professional finish when used with painter’s tape
How to Evaluate Existing Seals
During your inspection, look for:
- Cracks or splits
- Missing or chipped sections
- Thinning or shrinking
- Bubbling or lifted edges
- Sealant pulling away from the surface
If the sealant is lifted or bubbled: Remove completely before resealing.
If the sealant shows surface cracking: Clean thoroughly and apply a fresh layer over the top.
Roof Sealing Instructions
- Clean the area with mild cleaner or rubbing alcohol.
- Ensure the surface is completely dry.
- Apply self‑leveling lap sealant directly over the existing seal.
- Allow 48 hours for initial curing.
- Full cure takes about 30 days — keep the RV dry for the first couple of days.
Roof Areas to Inspect
- Roof perimeter
- Vents and vent pipes
- Skylights
- Antennas and solar mounts
- All exposed screws and hardware
Window & Door Sealing Instructions (Don’t Forget lights and vents)
- Remove damaged or loose sealant completely.
- Apply painter’s tape above and below the seal line.
- Run a smooth bead of cap sealant with a caulk gun.
- Wait 3–5 minutes.
- Remove the tape for a clean, straight edge.
- Allow at least 24 hours of dry weather.
Inspection Frequency
- Monthly: Full seal inspection
- Every trip: Quick walk‑around before and after travel
- After storms or extreme heat: Recheck vulnerable areas
Early detection prevents major repairs and keeps your RV road‑ready.
Straight Line RV & Boat Recommendation
Staying ahead of seal maintenance is one of the most valuable habits an RV owner can develop. A few minutes of inspection and touch‑up can prevent leaks, protect your investment, and keep your RV out of the repair shop and on the road where it belongs.
For professional inspections, resealing, or full roof maintenance, Straight Line RV & Boat delivers the precision, quality, and craftsmanship your RV deserves.